Read before installing
An improperly installed driver's mat can interfere with pedal operation and cause loss of vehicle control. Follow every step below. Do not skip.
Installation Video
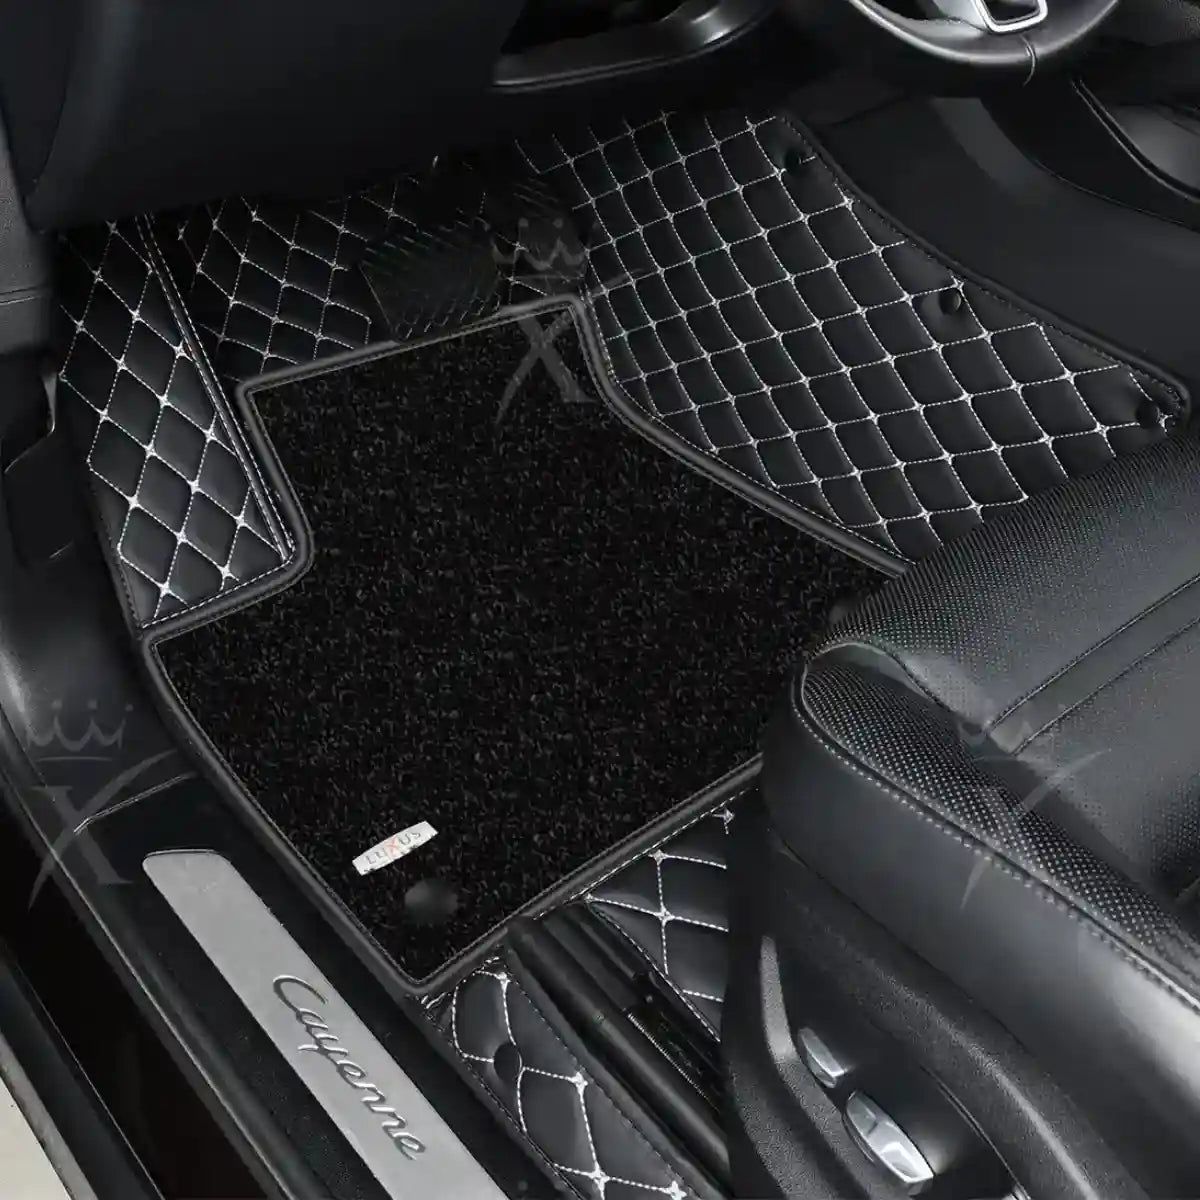
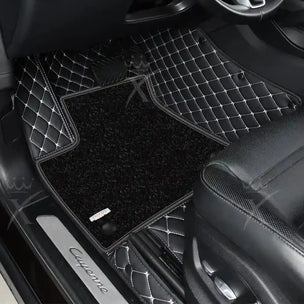
Front Mats
Remove all existing floor mats
Never layer mats on top of each other. Remove every mat currently in the vehicle before proceeding.
Move the driver's seat fully back and up
Maximize floor access before placing the mat.
Identify the driver's mat by its heel pad
The integrated heel pad marks the driver's side mat. Do not swap sides.
Align and secure
Position the mat, tuck the built-in retention clips under the vehicle's plastic trim, and apply the supplied Velcro where needed.
Verify pedal clearance before driving
Test the accelerator, brake, and clutch through their full range of motion. The mat must not contact or restrict any pedal. If it does, remove it immediately and do not drive until resolved.
Repeat for the passenger side
Same process. No heel pad required on the passenger mat.
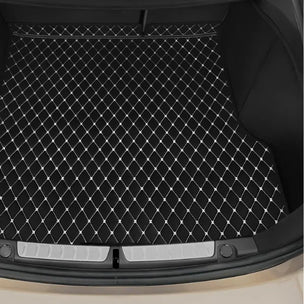
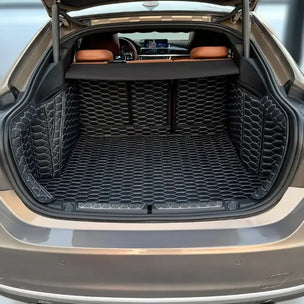
Rear Mats
Move front seats fully forward
Open up the rear footwell for easier placement.
Position and clip into place
Align mats with the floor contours and secure clips under the center console trim and rear door sill trim where applicable.
Before Every Drive
Cleaning
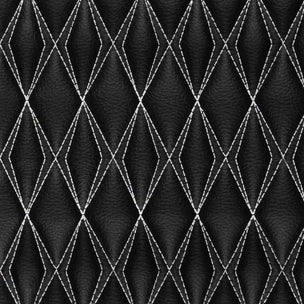
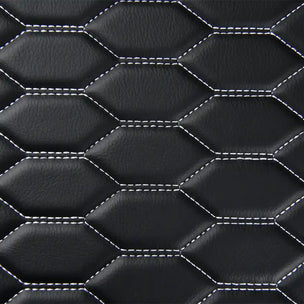
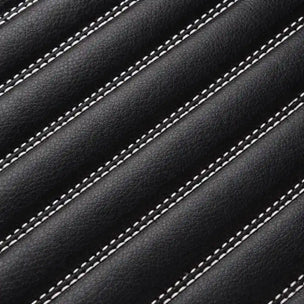
Vehicle Fit